My family likes bread/toast for breakfast. My brother likes to make French toast with his bread. My mom likes to top her toast with peanut butter and jelly. My dad likes to slather his with butter against the rest of the family’s wishes because he thinks a little butter on your toast is a lot of butter in my mind. I, actually, enjoy eating toast with butter or butter and jelly on occasion, but I prefer the old standby of cereal with milk for breakfast. The reasons are: I don’t enjoy change so eating the same thing for breakfast is what I like, I don’t want to have to think too hard about what I am eating for breakfast especially early in the morning, and finally, I’m usually hungry in the morning, and I don’t want to have to work hard for my breakfast. (I’m sorry past grammar teachers because I know the past sentence was 3 sentences smashed together.) I really enjoy college because there are pancakes, waffles, omelets, and pastries for breakfast, and all I have to do is show up. Oh, the wonders of college.
Well, back to the point. My family likes bread for breakfast, so when I got home from college, I decided to make some breakfast bread. This recipe is a nice cinnamon raisin bread that has whole-wheat flour and oatmeal to add some health and brown sugar to add some sweetness.
For the recipe:
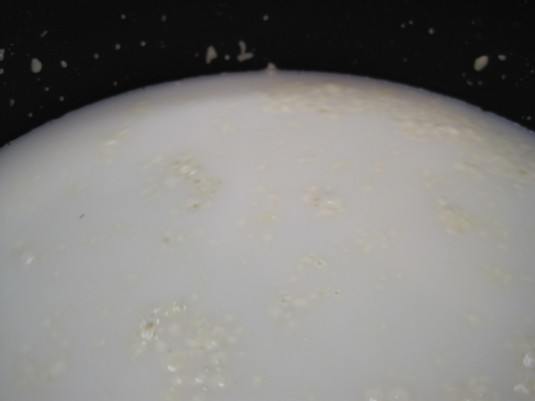
Add buttermilk to a saucepan and heat just to a scald (light boil). If the buttermilk begins to curdle, that is okay.
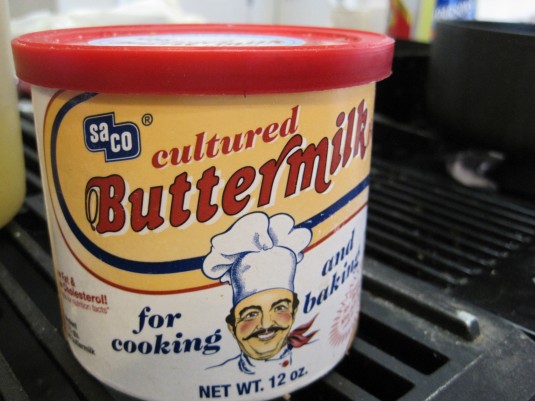
I actually used powdered buttermilk that is in the baking aisle near the powdered regular milk and the canned milk. This powdered buttermilk comes as a powder (obviously), and you just add water to make buttermilk in whatever quantity you need. This jar can sit in your fridge for about a year instead of the normal shelf life of fresh buttermilk of 1-2 weeks. Usually for recipes, I add the powdered buttermilk to the dry ingredients and the water for reconstituting to the liquid ingredients. You can also mix up the buttermilk in a separate bowl and add it when needed. For this recipe, you do need to mix the buttermilk up separately and heat to a slight boil.
On to the rest of the recipe:
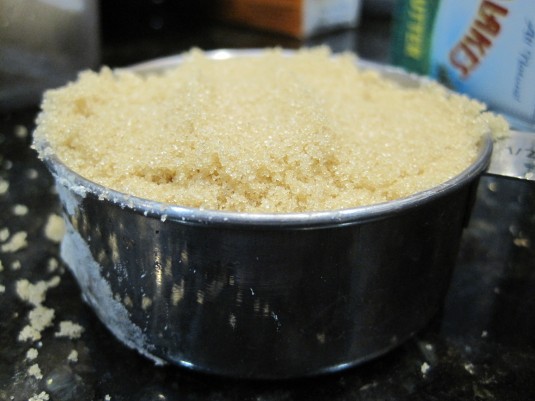
Add the buttermilk into a large bowl. Add in brown sugar, salt, and butter.
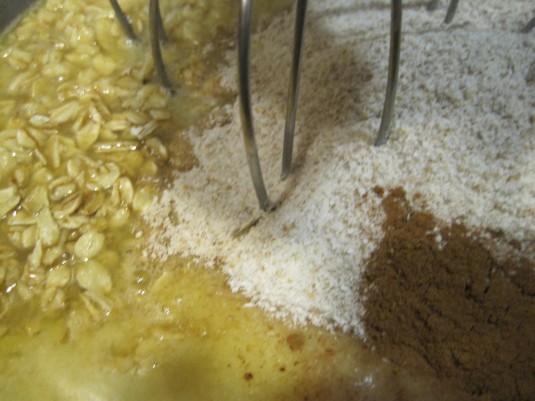
Mix until well blended. Allow to cool for a few minutes. Once cool, add in the egg, oats, whole-wheat flour, cinnamon, and yeast.
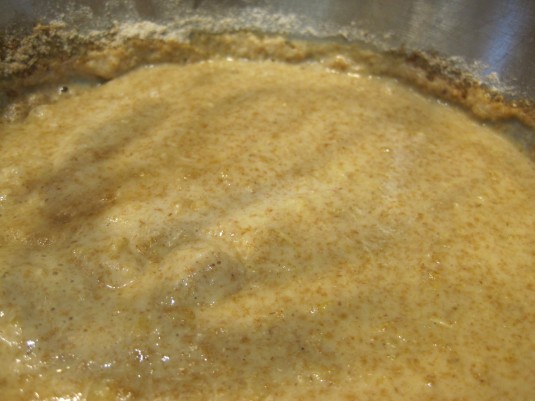
It is essential that you let the buttermilk mixture cool because if it is too hot, you can kill the yeast. Yeast will die when it is 140˚, and water, the main ingredient of buttermilk boils at 212˚F. Mix ingredients for a few minutes until well mixed. Allow the batter to rest uncovered for 10 minutes. This allows the gluten network to start developing and will make kneading easier and shorter.
Look at that nice and wet batter.
Start to add in the bread flour (add the 1st cup) and beat until flour is incorporated. Add more bread flour as needed. You may not need all 2 cups. It depends on where you live and the time of year. A humid climate will need less water/more flour because the flour will soak up water from the air. Use your judgment for the flour, but when in doubt, add less flour. When it becomes hard to mix in the bowl, turn out onto floured surface. Knead for 8 minutes adding more flour if dough becomes sticky. The dough should be smooth and elastic. If you poke the dough with your finger, it should spring back relatively quickly meaning the gluten has developed enough.
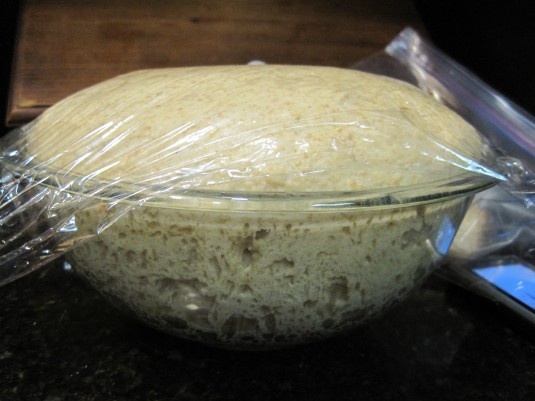
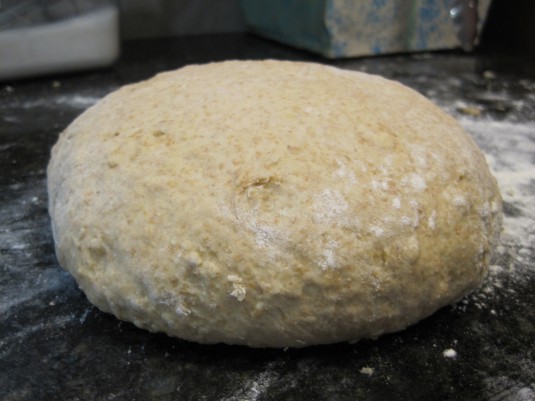 Put the dough in a bowl that is coated with either oil or non-stick cooking spray. Flip dough over so that all sides are coated. Cover with plastic wrap, and let rise until double in bulk: about 1 or 1 ½ hours.
While the dough is rising, combine cinnamon and sugar in small bowl for the filling. Also, place a piece of parchment paper on a pan (lots of p’s), and spray with non-stick cooking spray.
Once dough has finished rising, turn out onto floured surface. Cut dough in half. Roll each piece into a rectangle about 16 x 7 in. The fol in my dough is due to the fact that it was the right length but a tad too wide.
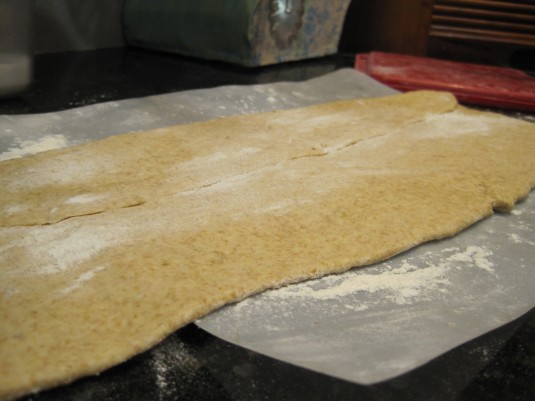 Brush half of the melted butter onto the dough.
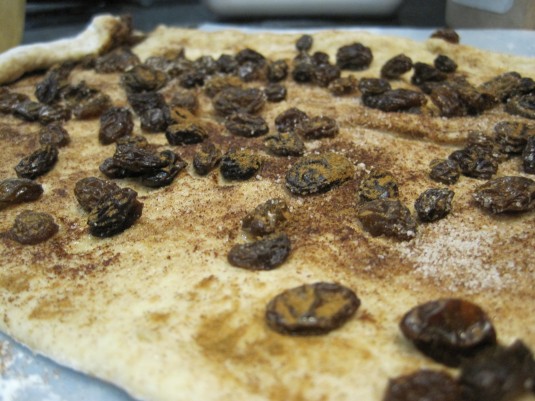
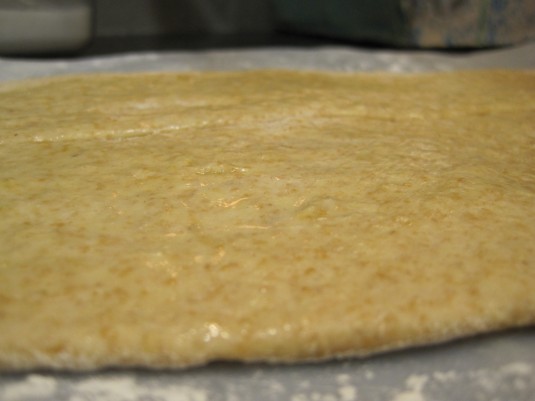 Sprinkle half of the cinnamon-sugar mixture on top of the butter. Sprinkle on raisins. I like a lot of raisins, but add as many as you would like. I actually made one loaf without raisins for my mother who doesn’t like raisins.
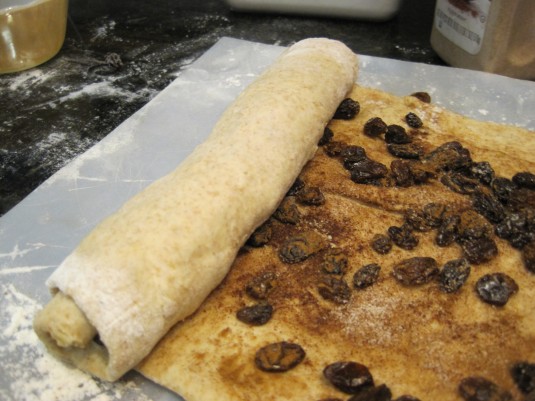
Roll the short end of the dough like a jelly roll, and pinch the seam closed.
Place bread loaf on prepared pan.
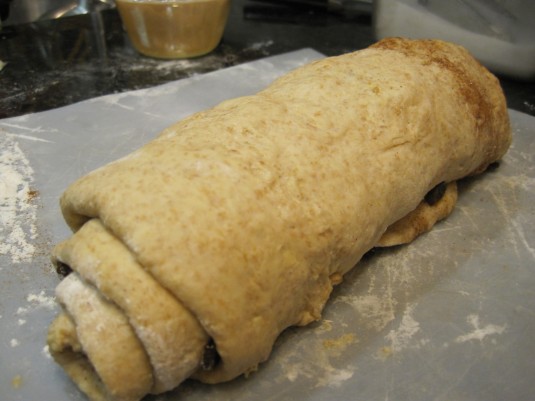 It make look ugly, but it will taste pretty.
Do the same with the other half of the dough.
Cover loaves with plastic wrap, and allow to double in bulk again, about 1 hour. Preheat the oven to 375 ˚F, and put a cast iron pan on the lowest rack (I’ll explain why later). To add a little variety to your loaf, take a wooden spoon and stick the handle into a bag of flour.
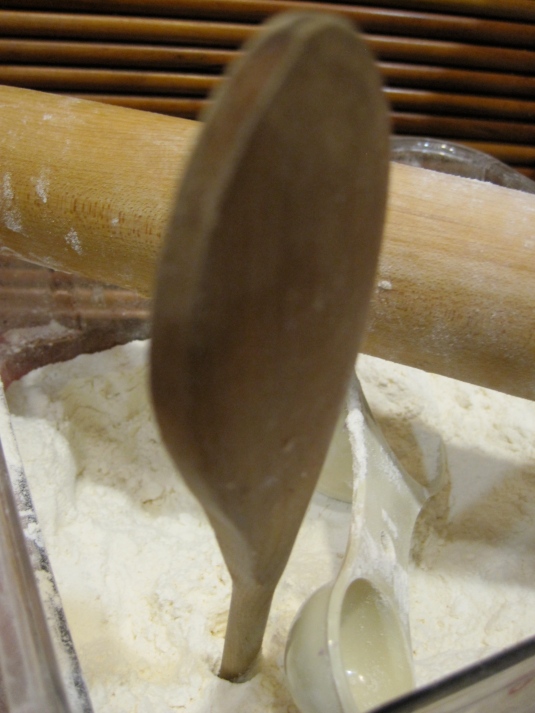 Now take the spoon handle and press into the center of the dough, pressing all the way to the bottom. Cover with plastic wrap again, and allow to rest for 15 minutes. Now place into preheated oven.
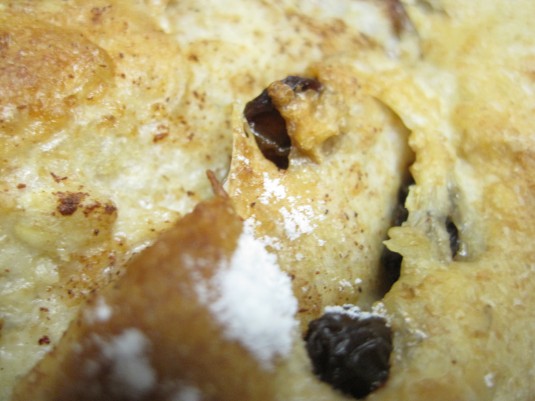
This is where things get interesting. I have a bad habit of skimming instead of reading. I do it with emails and with recipes. Both of which are very bad. For emails, I tend to miss key points when I skim the email. On many occasions, this has ended badly with scheduling 2 things on the same night, forgetting to bring something to an event, etc. For recipes, it means that I make the bread and it comes out perfectly, but when I reread the recipe and make changes for my blog, I notice things I didn’t get the first time. For this recipe, I was supposed to add the raisins into the dough instead of sprinkling them on top of the filling. I think my way worked better because the raisins were pretty evenly distributed which is hard with kneading. See the distribution?
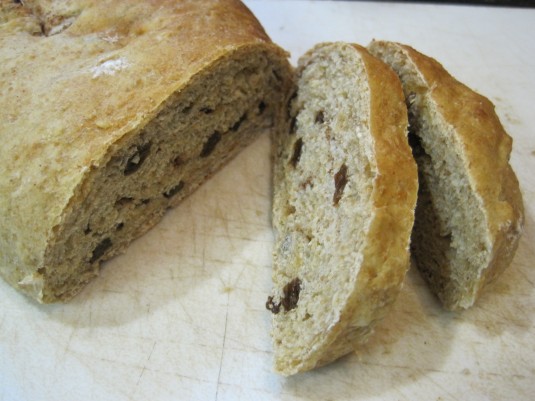
Another mistake I made was with the baking. I was supposed to bake the loaves in an oven that had a cup of hot water in the bottom to create steam. I didn’t read that, so I didn’t do that. Instead, I just put my loaves in the oven and baked them for the allotted time. How could I have skipped such a chunk of directions, you may be asking? Well, I was ready to bake, and I just skimmed for the length of time for baking.
What does the hot water in the oven do? This creates steam in the oven and helps create a crisp crust. Think of baguettes, they have super crunchy crusts. That is because the bakeries that bake baguettes (I’m really into alliteration today, have you noticed?) have very expensive ovens that have steam injection. The boiling water is a cheap and somewhat successful substitute.
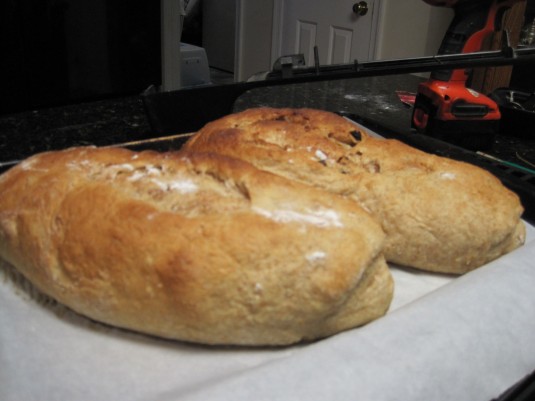
So, now I will tell you what you should do and what I should have done to bake these loaves. Remember that cast iron pan, here’s its moment in the spotlight. Place the bread pan into the oven. Before you close the oven, add about a cup of boiling water to the cast iron pan. Close the door immediately. Bake for 30-35 minutes until golden brown.
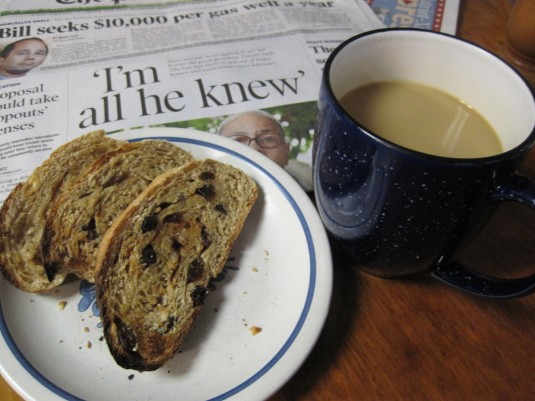
Enjoy with a touch of butter, some hot coffee, and today’s paper! My idea of a perfect morning.
Recipe adapted from: CookingBread.com
