Rice Krispies Extravaganza

What do you think of when you hear Rice Krispies treats?

… childhood memories?

…times with Grandma?

…spilling Rice Krispies all over the floor?

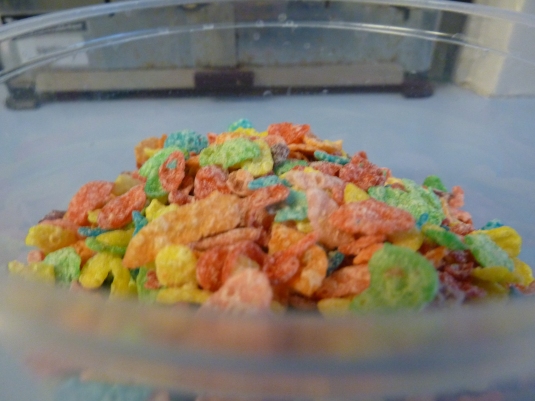
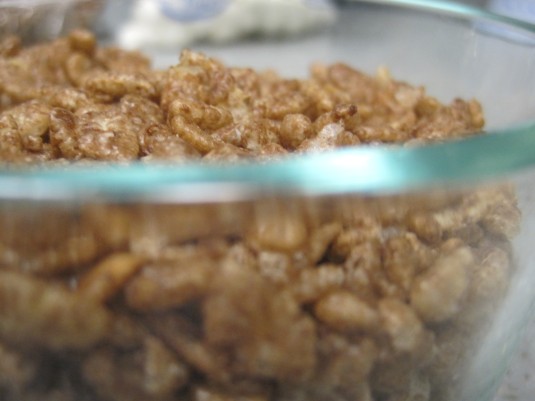
I have been baking for many years and love baking complex treats, but I still love the simplicity of Rice Krispies treats.  These are one of the first treats I learned how to make.  I make this treat for friends, bake sales, or for an afternoon or evening snack. I have made these treats forever, and I recently had a strong desire to try this recipe with other cereals.  I wanted to try these treats with Cocoa Krispies and Fruity Pebbles (I understand that this is a different type of cereal).  First, I want to talk about the basic recipe that I used for all of these.

Rice Krispies (I call the treats by the cereal name without the word ‘treat.’ do you?) came be made two ways: on the stovetop or in the microwave.  I have always made my Rice Krispies in the microwave because it seems easier, but for all of you, I wanted to try the other method, too. So, I could report back my findings.

Well, the two versions tasted a little different.  I even did a blind taste test with my mom (a wonderful baker in her own right).  I liked the stovetop version better, and she liked the microwave version better.  I think it had to do more with the marshmallow to cereal ratio than the different cooking methods.

I think most families have their way of doing it, and they always make these treats the same way.  I urge you to give both methods a try.

Both techniques are found on the back of the Rice Krispies box.

Let me give you quick instructions for both methods.

STOVETOP MEHTOD:

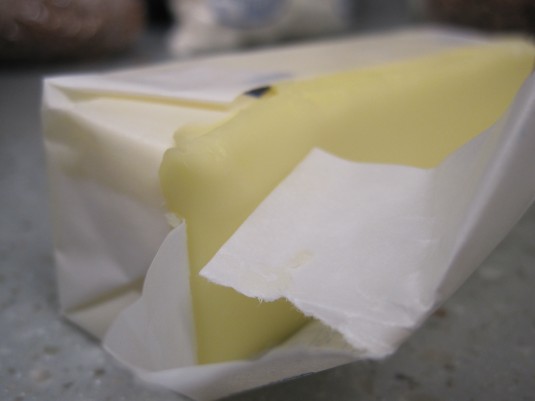
In a large saucepan, melt butter over low heat.

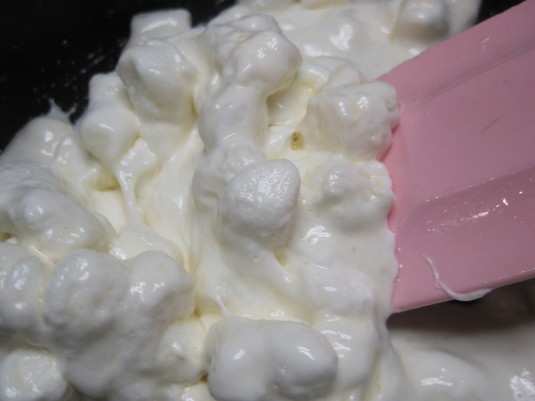
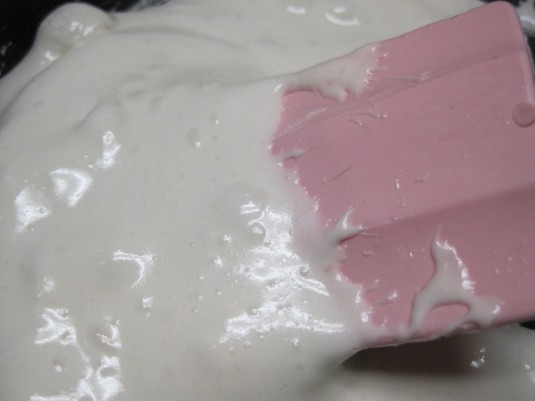
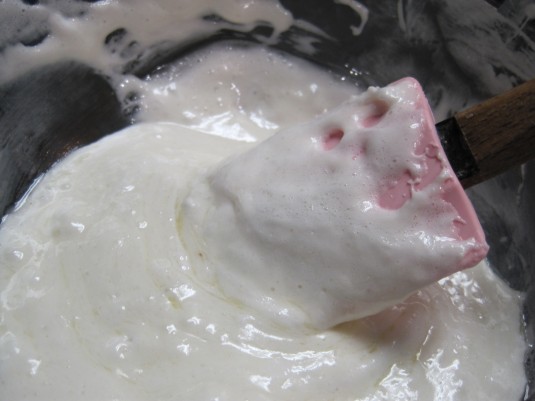
Add marshmallows, stirring marshmallows until melted.  See the progression of the marshmallows melt.

Once melted, remove from heat and immediately add the cereal.

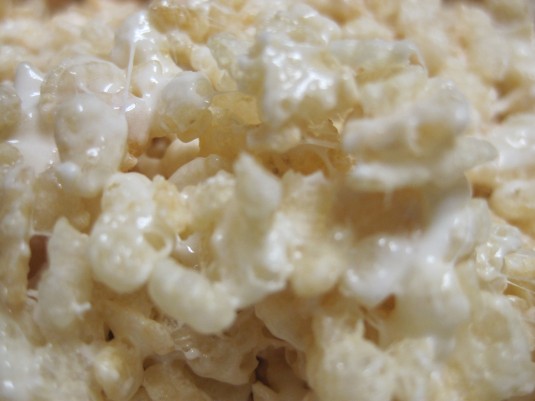
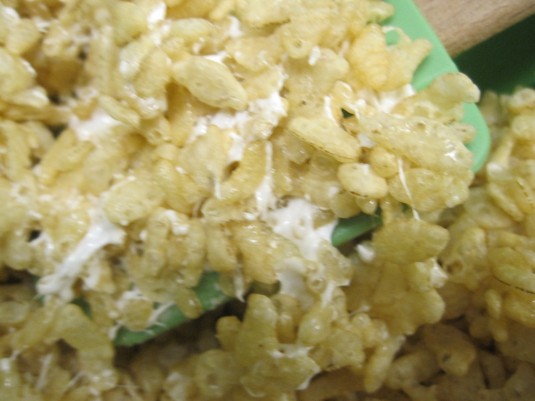
Look at that sticky goodness.

Spread into a greased pan (9×9 will yield 1 1/2 inch. thick treats, 13×9 inch. pan will yield 1/2 inch treats).  Use your hands (coated with cooking spray) or a spatula (coated with cooking spray) to press down the treats into the pan.  Cut and enjoy!

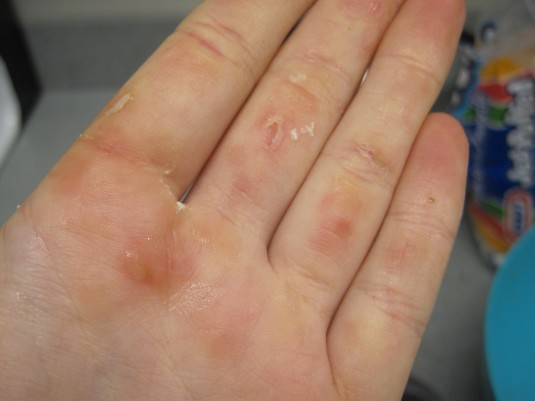
I made these during crew season, and I took a picture of my beat-up hands (this isn’t as bad as it gets).  When your hands look like this, use the spatula.

MICROWAVE METHOD:

Microwave butter and marshmallows in a large microwave-safe bowl.  How long?

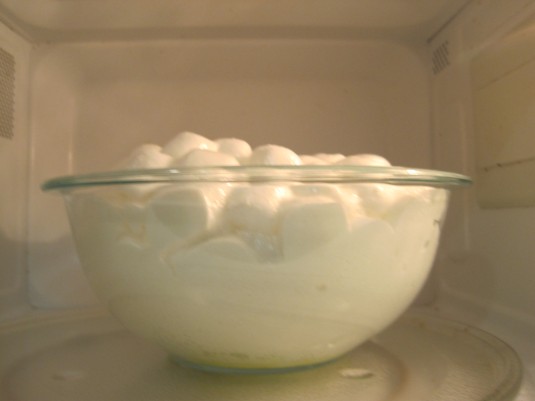
This is where it gets a little tricky.  I microwave mine for 30 seconds at a time, on high, stirring after each 30 second increment. Look at those puffy, puffy marshmallows.  De-lic-ious!

When do you stop microwaving them?  When they have started to form one big blob and return to their original size when the microwave is off, stop.  Air on the side of less time.

This is what you want:

Add in the cereal.  Follow the rest of the stovetop instructions.

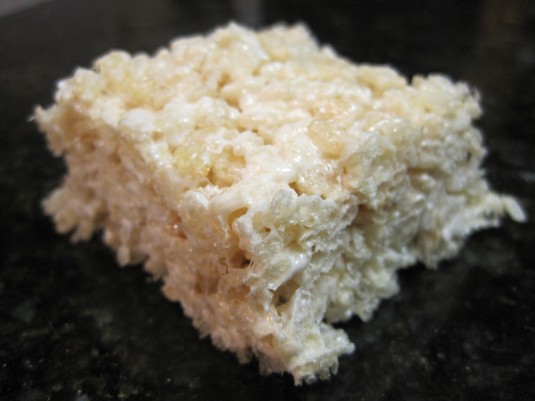
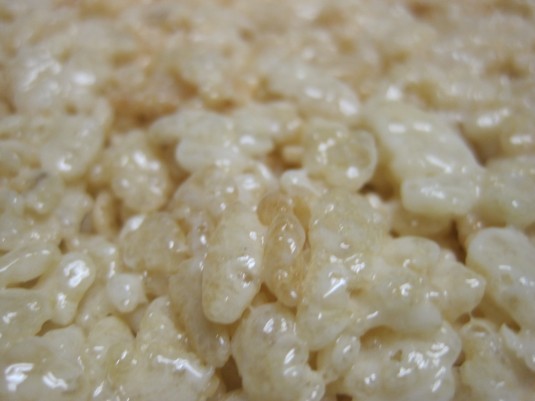
Look at this masterpiece. It seems that the microwave treats are glossier but less white.

Enjoy!

For variations, I wanted to try different cereals.  In all my attempts, I have never tried anything but the traditional.  Never dipped them in chocolate, added other ingredients like chocolate chips, nuts, or candy.

I tried these delicious treats with Cocoa Krispies and Fruity Pebbles with abysmal results.

The Coca Krispies treats brought out the fakeness of the ‘cocoa’ in the cereal.  The Fruity Pebbles tasted bad for similar reasons.  The fruity taste that is so yummy in a bowl with milk becomes a bad part about the treats.  They both were not good, but the trial and error was great for you because now you don’t have to try these combinations.

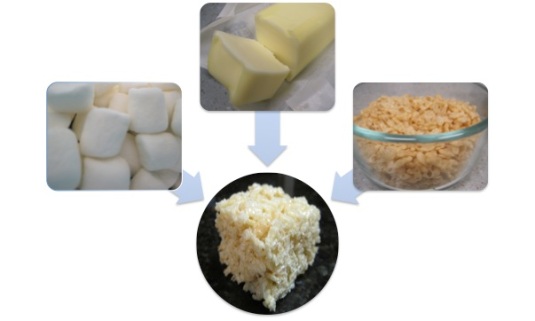
All in all, I discovered the awesome tastiness of pure Rice Krispies treats: just butter, marshmallows, and Rice Krispies.

Enjoy!!!

Recipe: Rice Krispie Treats Extravaganza
Rocky Road Brownies

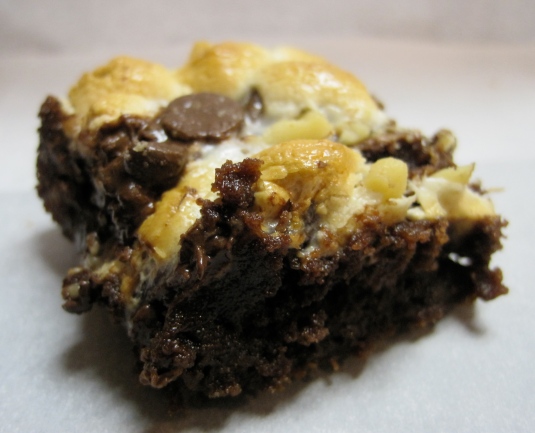
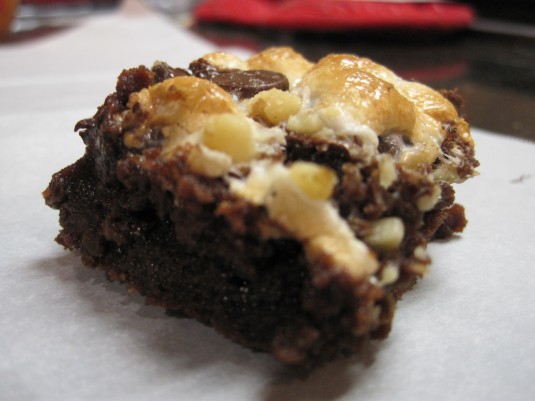
I’ve never in my life had Rocky Road ice cream (for those of you who don’t know what this is: it is chocolate ice cream with nuts and marshmallows).  For some reason, I never thought it sounded good or I always thought there were better ice cream flavors (coffee, peppermint, mint chocolate chip…, I’m getting hungry for ice cream now).  I found this recipe for Rocky Road Brownies, and these caught my fancy.  I think it was the lightly roasted/browned marshmallows on top that appealed to me.  As I was whipping up this recipe, I looked up some more about the history of the rocky road.

First, William Dreyer, one of the founder’s of Edy’s Ice Cream, cut up walnuts and marshmallows with his wife’s SEWING SCISSORS (crazy?) and added them to this chocolate ice cream in 1929.   It’s been said that he used his wife’s sewing scissors because at that time, only large marshmallows were being produced.  I couldn’t prove that, but it sounds plausible. He based this mixture on a similar candy bar his partner, Joseph Edy, had created.

The name was created to give people a laugh and a smile amidst the Great Depression.  It’s amazing the complex history of a popular ice cream flavor.

For the brownies, they mimicked the main flavors of chocolate, marshmallow, and nuts.  Real Rocky Road ice cream is made with almonds, but I made them with walnuts because that is what I prefer.  Do what you want.

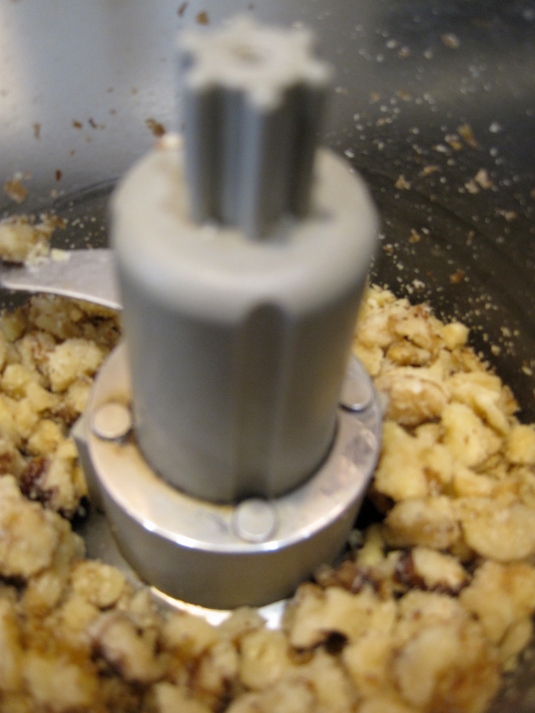
Begin by preheating your oven to 350 ˚F.  Next, spray an 8 x 8 in. square pan with cooking spray. Chop up your pecans or almonds (whichever you prefer). 

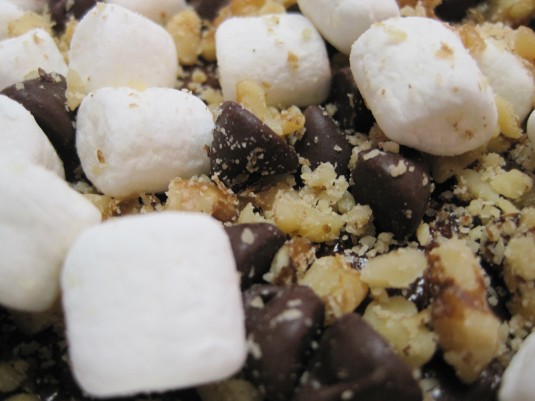
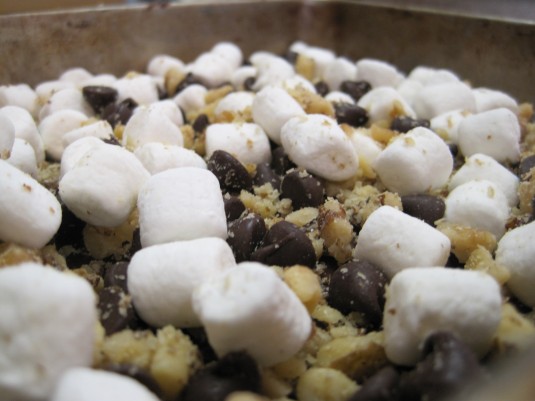
Put chopped nuts, marshmallows, and chocolate chips in a small bowl and mix together.  Set aside.

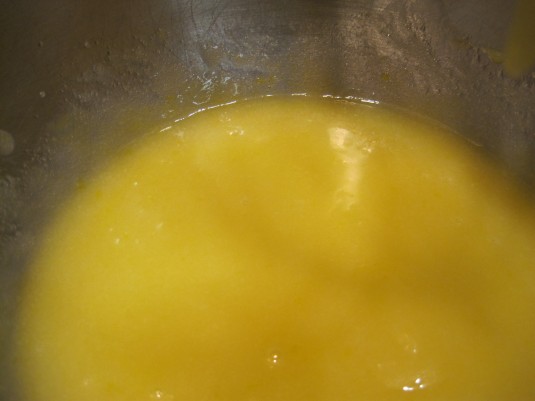
In a large bowl, combine melted butter, sugar, and vanilla until blended.

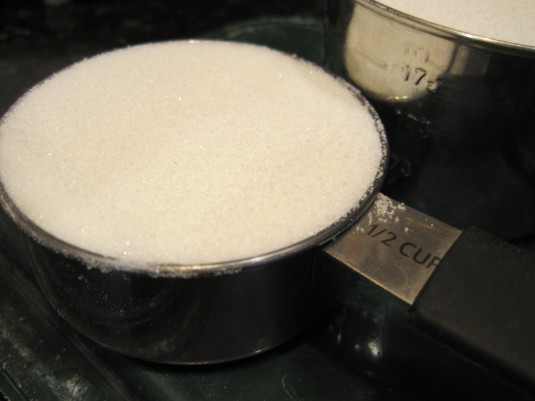
Lots of sugar.

Add one egg at a time mixing well after each addition.

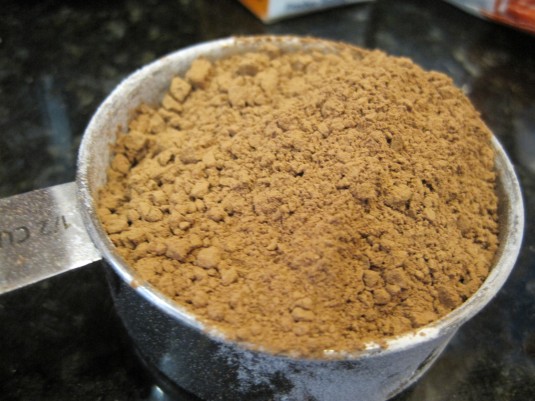
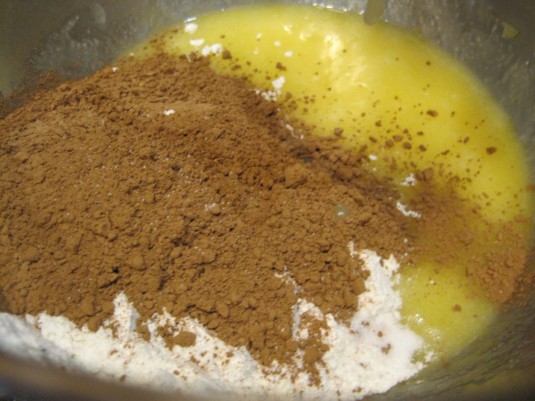
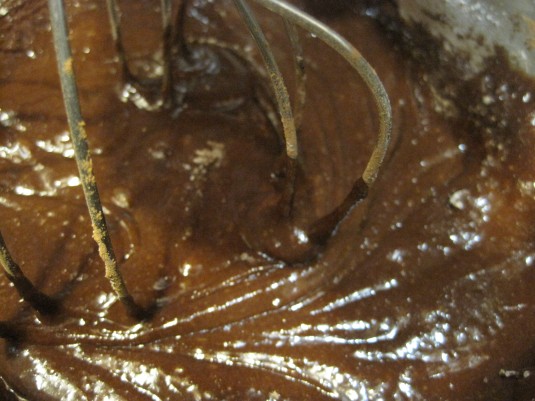
Add cocoa, flour, and salt and stir the batter until everything is fully incorporated. (Cocoa=pure joy)

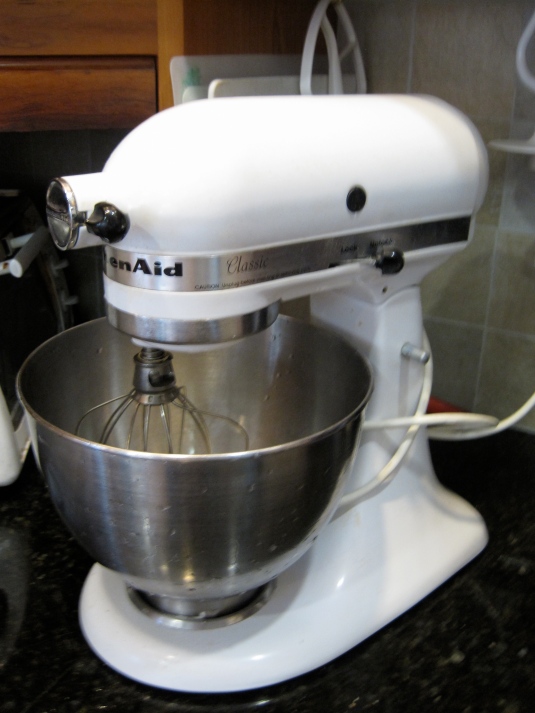
You notice the beater.  That is from my KitchenAid mixer.  It was so nice to come home and use it.

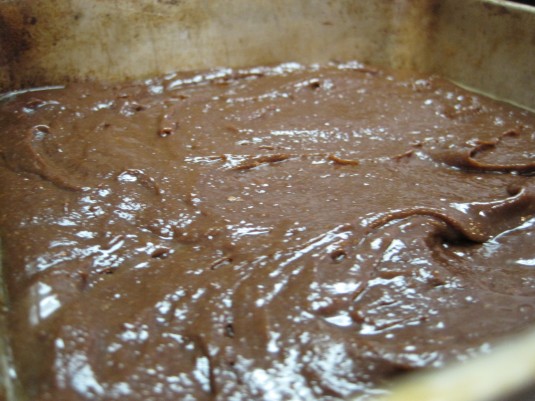
Spread the brownie batter into the prepared pan trying to spread the batter as evenly as possible. 

Sprinkle the almond/marshmallow/chocolate mixture over the top of the batter.  Again, try to spread the mixture evenly.  Using the back of a spoon or your fingers (why bother getting a spoon dirty when you have 2 beautiful hands), gently press the topping mixture into the batter.  This will ensure that the topping backs into the brownie and won’t fall off the top once baked.

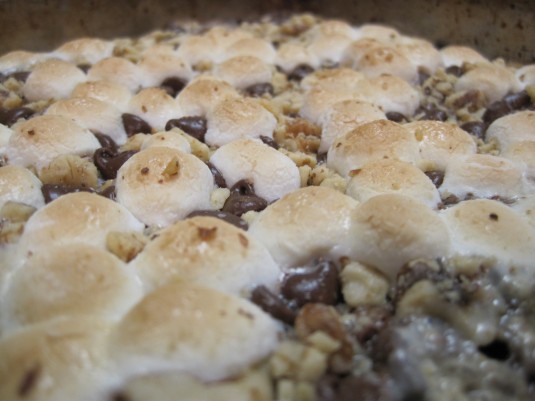
Bake for 30 minutes or until done.  The marshmallows will be slightly crisp and golden.

Enjoy!

Recipe from: Savory Sweet Life

Recipe:Rocky Road Brownies

Knock You Naked Brownies

At the end of the semester, I had some ingredients that I wanted to use up.  I stumbled upon a recipe for these brownies, and these were perfect for the random ingredients I had on hand.

With a name like Knock You Naked Brownies, I was ready to find out what these brownies were all about.  These treats are dressed-up brownies (actually made with chocolate cake mix)  with caramel, chocolate, and nuts. I skipped the nuts, so anyone with nut allergies could sample these delectable treats.

I took this treat to a little crew get-together.  The 9 of us dug into the brownie pan with forks and spoons. Who needs plates and napkins?  We woofed these brownies down in 10 minutes flat.  And, boy were they deeeelicious.

Now on to the brownies.  Begin by preheating the oven to 350˚F.  In a large bowl, mix together the cake mix, chopped pecans (optional), 1/3 cup evaporated milk, and the melted butter. Stir together until combined.  This mixture will be very thick.

Press half the mixture into a greased 9×9 inch baking pan. 

Bake for 8-10 minutes.

In a double boiler, melt the caramels with the additional 1/2 cup of evaporated milk.  I tried to melt these in the microwave.  FAIL!    The caramels never fully congealed with the evaporated milk.  The original recipe called for melting the caramels in the double boiler, so that is what I suggest. 

When the caramels are melted and all mixed with the evaporated milk, pour over the baked brownie base.

Sprinkle chocolate chips evenly over the caramel.

With the remaining brownie dough, turn out onto plastic wrap.  Use your hands to press the dough into a large square a little smaller than the pan.  Flip layer onto caramel layer.  Bake for 25-35 minutes.  Remove from the oven and let cool.  Put these brownies in the fridge for a few hours, so they can set up.  I know they will look so delicious and welcoming, but this is a necessary step.

Sadly, my camera was being borrowed at this time, so I wasn’t able to take pictures of these last few steps.  Have faith that you know what you are doing.  I have faith in you.

Remember how I said that 8 friends and I devoured these brownies in under 10 minutes.  Well, I didn’t get a picture of the final product, but here’s what it looked like after we had had it.

Recipe from: The Pioneer Woman

Recipe: Knock You Naked Brownies

Row, Row, Row Your Boat

As you may know from my blog title, I am a member of my college’s crew team.  I really enjoy the sport, even if it involves waking up at 4:30 AM to go to practice.  4:30 is early, but I get to be outdoors, see the stars, see the sun rise, and spend time with some awesome people.  Every weekend we have a regatta, our fancy name for a race.  One of the great aspects of these regattas is the regatta food.  What exactly is regatta food?  Well…

Our coach understands the importance of being well fed and fueled for our races, so she spares no expense.  We begin the day of the regatta with bagels (many assortments)… complete with cream cheese and peanut butter.

This week, we had the extra bonus of nutella. See how much this was liked.

For breakfast, we also get juice, yogurt (organic to be exact, so fancy), and other snacks.

We also have regatta lunch at the race site.  Usually, that considers of sandwich fixings including lunch meats, fresh cut tomatoes, every type of mustard or mayonnaise.  We also have cut veggies (peppers, carrots, snow peas) with dips, dried fruit, chips, pretzels, and cookies.  Obviously, we are fed very well.  See all those coolers filled with deliciousness.

One of the things that is sometimes lacking is homemade baked goods because in my opinion homemade is always better than store bought.  I had this great idea to make OAR COOKIES to mimic the oars we use to row.  Thankfully, our oars are pretty simple and easy to replicate: only 3 stripes.

I was so excited; I just had to find time in my hectic schedule to whip these treats up.  Thankfully, I had some help. A few of my fellow crewbies helped me out.

For the cookies, beat butter and sugar at medium speed until fluffy or beat by hand.  Look at that delicious goodness.

Add egg, beating until combined.  Add flour, cocoa, and salt, beat just until blended.

Divide dough into 2 equal portions; flatten each portion into disk. Cover these disks and chill for 10 minutes.  This will make the cookie edges more defined.  This is a necessary step.  If you need to skim some time, you can put the dough in the freezer instead for a few minutes. While the dough is chilling, preheat the oven to 350˚.  Prepare two cookie sheets with cookie spray.

Once chilled, lay out on a lightly floured surface, and roll dough to 1/8 inch thick.

Cut into desired shapes.  For the oars, we cut rectangles with one of the short edges having a slight diagonal cut to replicate the oar shape.  You can use this recipe for anything.

Put the cookies 2 inches apart on the prepared pans.  Bake for 9-12 minutes depending on the shape and size of your cookie.  Let cool on baking sheets for a few minutes, then transfer to wire racks.

While the cookies are cooling, prepare the frosting.  This recipe is the same recipe I use for all decorated cookies because it dries quickly and doesn’t have raw eggs in them.

Begin by mixing egg white powder (yes, this is part of the egg that is dried but there is no risk of salmonella) with the powdered sugar.  Add in water and flavoring; continue beating on high until icing is thick and glossy.

Separate icing into smaller bowls in order to add colors or tints.  I removed a small amount of icing that I left white for the stripes. The rest I colored bright yellow.

Decorate the cookies.

See the resemblance.

This isn’t one of the better ones, but you get the idea. When I handed these out after the regatta, everyone loved them.  The chocolatey cookie was delicious and moist, while the icing added a hint of sweetness.

Be creative with your cookies, and enjoy!

Recipe Adapted From: Southern Living

Recipe: Chocolate Sugar Cookies

Magic in the Middle

Reese’s has run commercials about how the pairing of peanut butter and chocolate is perfection.  I agree.  These cookies are very similar.  You think it’s just chocolate, but when you bit into it… SURPRISE: Peanut Butter!

Begin by preheating the oven to 375˚F.  Prepare 2 baking sheets with parchment paper or spray lightly with grease.

To make the dough, whisk together the flour, cocoa, baking soda, and salt.

In another bowl, beat sugars, butter, and peanut butter until light and fluffy.  I ran out of peanut butter because I made the filling first.  I made the cookies without the peanut butter, and they still tasted delicious.  

Add in vanilla and the egg, beating until combined.

Stir in dry ingredients, beating well.

To make the filling:  stir together the peanut butter and powdered sugar.  I used natural peanut butter which is much thicker than the regular peanut butter.  So, I added 2 tablespoons of water to thin it out a tad.  I seemed to have forgotten to take pictures of the filling.  You want it thick enough so it holds its shape but thin enough to stay together.

Now for the cookies.  Take a chunk of dough.  Roll into a ball.

Make a good sized intent in the center of the ball.

Take a chunk of peanut butter filling.  Roll the filling into a ball.  Place this in the center of the chocolate dough ball.

Shape the dough around the peanut butter filling.

Repeat with the rest of the dough.

Roll cookies in granulated sugar.

Place 1 1/2 inches apart on the cookie sheet.

Bake for 7-9 minutes, or until they’re set and you can smell chocolate.

Remove from oven, and cool on a rack.

You’ll never know there is a secret surprise inside each of these delicious cookies.

Eat and enjoy!

Recipe from: King Arthur Flour

Recipe: Magic in the Middles

Previous Older Entries