1 Year of Blogging Celebrated with Delicious Cake

I can’t believe I have been blogging for ONE whole year. Well, actually yesterday was the 1-year anniversary, but last week my computer was getting fixed, and this week my internet hasn’t been working, and the last few days I’ve been busy finishing up my internship, packing, and moving back home. I’m so excited that I was able to make it this far, and I’m excited for adventures to come.

I’ve written 54 posts, and I have many more that I want to publish.  For this important anniversary, I whipped up a delicious strawberry cake with cream cheese frosting.  This cake was so decadent but so delicious.  Everyone wanted a second piece and a piece to take home.

This recipe wasn’t too complicated, but the outcome was out of this world.

For the cake:

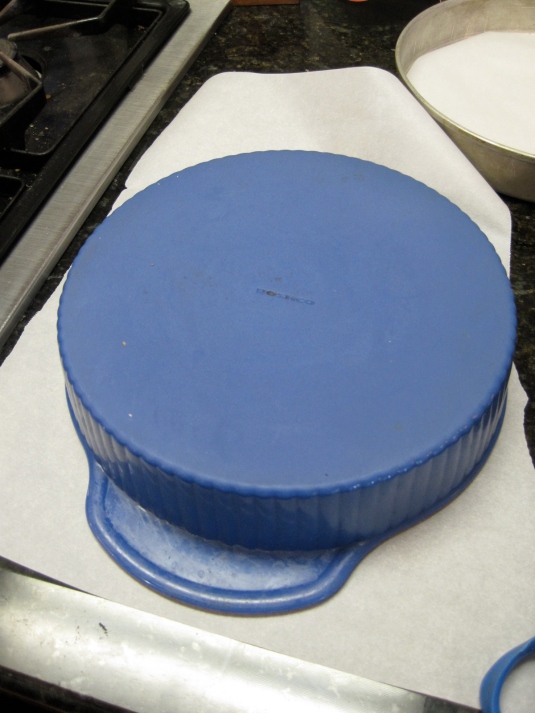
First, I prepared the pans.  Line 3 9-inch round pans with parchment paper.  I turn my pans over and trace the outline to get the right size parchment rounds.

Once done with all the tracing, cutting, and preparing.  Butter the parchment paper.

Chop up 2 cups of strawberries. You can use frozen strawberries, thawed, but I always prefer fresh.  I would recommend frozen in the winter because the strawberries are usually frozen at the peak of ripeness, instead of being shipped 3,000 miles in the middle of winter. Puree in your food processor or blender.

In a large bowl, mix together the cake flour, sugar, baking powder, and salt.

Add in the butter (yes, I know it is a lot, but well worth it).

Add in the strawberry puree.

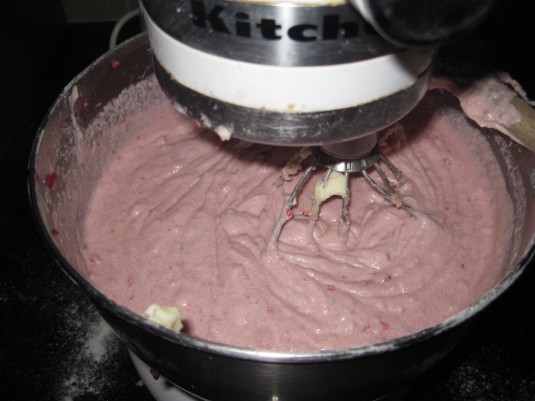
Beat at medium speed for 2-3 minutes until light and fluffy.  The batter is so tasty, and the strawberry flavor comes out well.

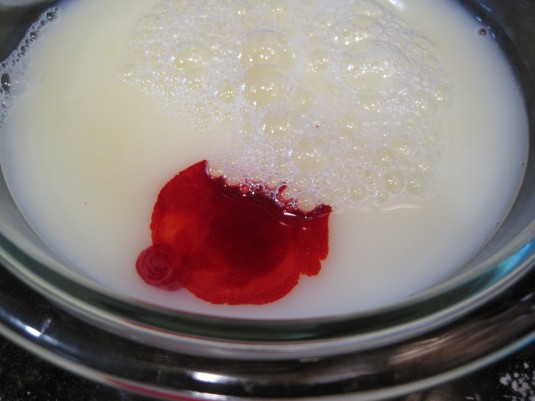
In another bowl, whisk together the egg whites, milk, and red food dye.

Egg whites?  I hate to separate out the whites from the yolks and then throw away the yolks or use them in something else.  Instead, I bought a carton of egg whites. 3 Tbsp. is equal to 1 egg white.

Mix the egg whites, milk, and 3-4 drops of red food dye.  The food dye will bring out the color of the strawberries and will make the cake a nice pink color, a little surprise when you cut open the cake.

Reminds me a little of Pepto Bismol.  I’m starting to feel a little nausea, heartburn… It will look good in the cake, so carry on.

Add the pink whites to the batter in 2-3 additions, mixing well after each addition.  Once all is incorporated, don’t keep mixing.

Divide the batter between the 3 prepared pans.

Bake for 28-33 minutes until a toothpick inserted in the cake comes out clean.

While the cakes are cooling, whip up the frosting.  Cream together the butter and powdered sugar until thick and creamy.

Add in vanilla and cream cheese.Beat until smooth.

Put this in the fridge to cool while the cakes bake and cool.

Check the cakes.  A toothpick should come out clean.

The cake separates nicely from the pan making for easy removal.

Once cool, turn the first cake out on to the plate you wish to serve the cake on. This is one of the plates I recently purchased to showcase my desserts.

Peel off the parchment paper.

Top with a dollop of frosting (1/2 cup).  Spread out frosting.

Top with the next layer.  I was using the oven to make some bread, so one of my pans was lopsided leading to a lopsided level.

It’s not obvious from the picture, but it’s crooked.  I added extra icing on 1 side to even it out.

Top with the remaining layer. Coat the entire cake with the frosting.

I decorated the cake with strawberries.  Here is a trick I learned from a bakery I worked at.

Take a strawberry, and cut small slices in it.

Spread them apart like a fan.

I put this in the center of the cake.

See the man in the background getting his fork ready to dig in to the deliciousness.

ENJOY for whatever occasion you have, whether you are celebrating 1-year anniversary of your blog or your wedding anniversary or for your birthday.

I hope you will continue to follow my blog for many more years.

Recipe:Strawberry Celebration Cake

Recipe from: Smitten Kitchen

Red, White, and Blue Strawberries

These red, white, and blue strawberries are perfect for 4th of July.

Begin by washing the strawberries and let them dry.

(Even my dish towel was patriotic, notice the star!)

Melt semisweet or milk chocolate in the microwave or over the stovetop. Chocolate too thick?  Add in a little neutral oil like canola oil to thin out the chocolate.  I added about 1/4 tsp. to 1 cup of chocolate.  This made the chocolate nice and smooth so, it could coat the strawberries well.

Dip strawberries in chocolate.

Then dip into blue sprinkles.

Put the dipped strawberries on a sheet of wax paper to cool.


In another bowl, melt white chocolate, adding oil if too thick. Dip more strawberries in white chocolate. Skip the sprinkles though.

Finally, leave some strawberries naked (without chocolate).

Put the wax paper sheet with the strawberries in the fridge for 15 minutes to help set up the chocolate.

Leftover chocolate?  Tip some smaller strawberries, using a spoon to coat with that last bit of chocolate.

Drizzle the other chocolate over top to cover up any imperfections.

Remove strawberries from the fridge. Arrange on a plate.  I recently bought some decorative plates in different sizes and shades.  This is one of my purchases.  It was the perfect size for these beauties.

Enjoy!


Another option:

Dip strawberries in white chocolate, and then just dip the tip of the strawberry into the sprinkles.  Each strawberry has all three American colors.

I like the other idea because I prefer regular chocolate to white chocolate, but both designs compliment the strawberries in a sweet way.

Either way, enjoy with friends and family.  Have a wonderful 4th of July!


Breakfast at Wimbledon

Today is the finals of Wimbledon.

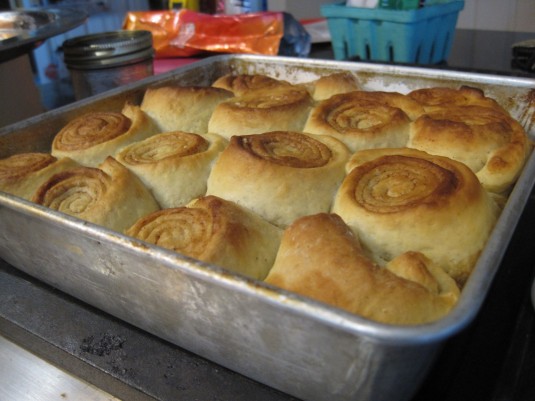
My mom and I have a tradition of enjoying Breakfast at Wimbledon.  Breakfast at Wimbledon is the singles men’s finals  broadcast from Wimbledon, UK.  We watch the finals and dive into a delicious breakfast food.  This year I returned to an old classic, my mom’s sticky bun recipe clipped from a magazine a long time ago. This recipe is full of sugar and butter, but boy is it delicious. Whip these up when you are in the mood for a rich breakfast, having guests over breakfast or brunch, or just when the fancy strikes you.

Begin by adding the milk to a small saucepan, heating over medium heat until small bubbles start to form. Once the bubbles form, remove from the heat.

Add in the sugar, butter, and salt stirring so the butter melts.

In another large bowl, add the warm water.  Sprinkle the active dry yeast and 1/2 tsp. sugar over top of the warm water.  Let this mixture stew for 5 minutes to help get the yeast going, letting it feed on the water.

These little rods become nice and bubbly.

It should have a light smell similar to beer (beer has yeast too).

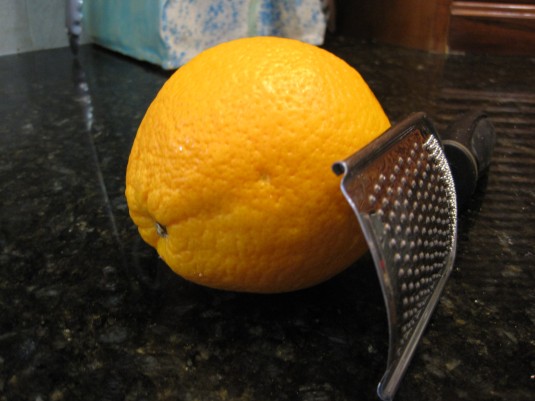
Add the citrus zest and the 2 eggs.  I like orange zest, but you can use lemon too.

So fragrant! This zest will add a wonderful subtle note to the cinnamon buns.

Next, add in the cooled milk mixture.  It doesn’t need to be cold, just around room temperature or a little warmer.  Anything above 140˚F will kill the yeast.

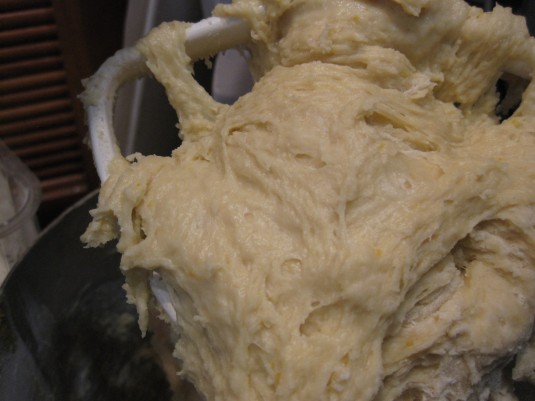
My eggs aren’t quite fully mixed in, but it’s fine for now.

Add in 2 cups of flour.  Mixing until all the flour is incorporated.

The dough will still be very wet and sticky.

Add in 2 cups more flour.

Even with 4 cups of flour, the dough is still sticky and shaggy.  Add in more flour slowly, until the dough is soft but still a tad wet.

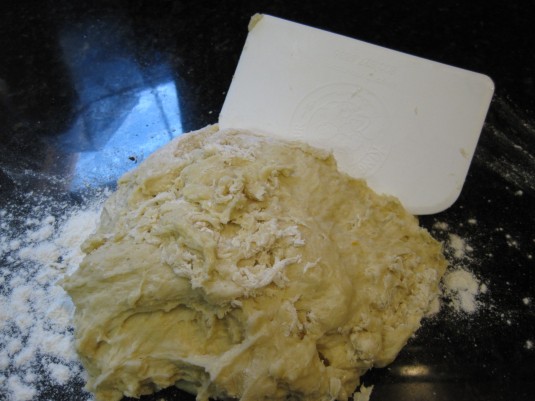
Turn out onto a lightly floured surface.

My dough isn’t very uniform yet, but after kneading it will be nice and smooth.

Knead for 5-7 minutes until the dough springs back when touched.  Add in as little flour as possible.  To do that, only add small amounts of flour to the surface.

Look at that little piece of orange zest.  So tasty!

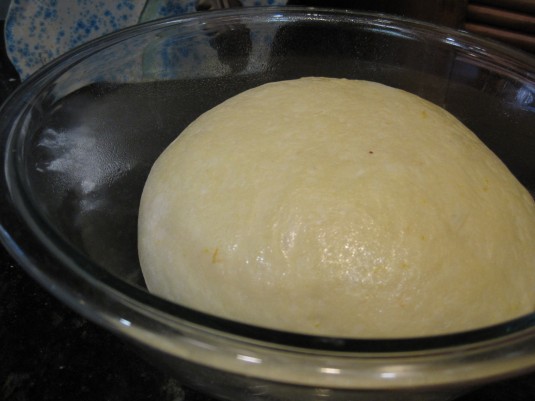
Put in a greased bowl.  To get the dough completely covered with oil, place in the oiled bowl upside down.

Then, flip the dough right side up.  Now the dough is fully covered with oil.


What does the oil do? This prevents the dough from forming a hard crust forming on the dough.

Cover the dough with plastic wrap, and let rise for 1-2 hours until the dough is doubled in size.

While the dough is rising, prepare the sticky bun topping.

Add brown sugar, butter, and water to a saucepan.  Heat over low heat until the butter has melted.

As I was making the topping, I was also making dinner.  So, I was feeling a little overstretched.

Making corn in the big pot, and the bubbling pot up front is a balsamic onion sauce for some salmon cooking on the grill.  I was also cutting up some watermelon and preparing some salads with homemade dressing.


Do you like nuts in your sticky buns?  Do you prefer pecans, walnuts, or raisins?

In my family, my mom likes walnuts and I like pecans, so we do a little bit of both.

To add nuts to your sticky buns, chop up your desired nuts.

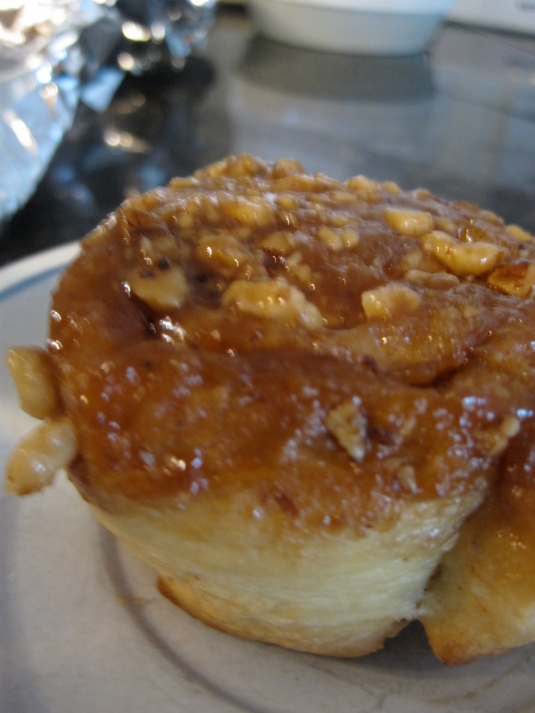
Add to 2 greased 9*9 pans. I made 1 pan with walnuts and 1 with half pecans and half plain.

For the filling that’s melting on the stove, when the butter is all melted, increase heat to medium heat stirring until the mixture has started to boil.

Pour over the nuts.

Look at that yumminess.

My half plain, half pecan didn’t really last very long once I added the syrup.

In the midst of all this, I also enjoyed a tasty salmon dinner all prepared by yours truly. I even milked the cow for the milk (just kidding!).

Now back to the dough that is finished rising.  Turn out onto lightly floured surface.  Cut the dough in half.  I like to use a bench knife.

Take one piece of dough.  Roll out to a large rectangle about 16*10.

Spread dough with melted butter.

Sprinkle with cinnamon sugar.  I have a container of cinnamon sugar already prepared, so I can add cinnamon sugar to toast, to french toast, and to baked goods. It is a very big container, but my family loves cinnamon sugar.

Roll up the dough starting with the long side.

Cut into 1 1/2 inch pieces.  Use a sharp knife, so you cut the dough and not squish it.

Put the rolls cut side up in the prepared pan with the syrup.

Repeat with remaining rolls until the pan is filled.  Leave room between rolls, so they have room to rise.

Have a little extra dough.  Dip into syrup and eat.

Let rise for 1-2 hours until the rolls spread out in the pan.  I let mine rise overnight in the fridge (they will just rise slower), so they were baked fresh this morning. I took them out of the fridge about 1 hour before I wanted to bake them, so they could finish rising.

Preheat the oven to 350˚F.  Bake for 30-35 minutes until the tops are nice and golden.  The tops might seem a little too golden, but the bottom will still be a little undercooked. 

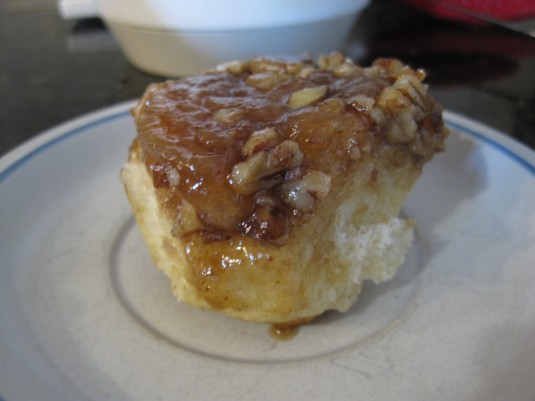
Cover the pan with aluminum foil.  Turn out onto a plate.

My half pecan pan got a little crazy.

Eat and enjoy as you watch Djokovic win the 2011 Wimbledon tennis championships.

Enjoy!

Recipe:Delicious Sticky Buns

Fell’s Point Food Tour (Baltimore)

My mom came to visit me this past weekend in Baltimore, and I decided to take her on a food tour.  What is a food tour?  A walking tour that includes some tasty treats with a bit of history thrown in.

We decided on the Fell’s Point food tour, provided by Charm City Food Tours. They also have a food tour in Little Italy and Federal Hill with a new tour in Mt. Vernon being offered soon.

Our tour guide was very helpful, providing wonderful tidbits about the food and about the different sites we were seeing.

Our tour began at Hungry Andy’s where we had delicious pit beef with delicious homemade BBQ sauce and sweet onions.  We also had some wonderful french fries with just the right amount of sea salt.

We even got to talk to Andy, himself.  He gave us his secret for quality french fries.  If you want to know, you will have to go there yourself.  It’s well worth the trip.

Next, we headed over to Stuggy’s where they specialize in hot dogs.  We had the Baltimore dog, a hot dog with baloney and mustard.  Sounds like a really odd combination, and it was to me.  I’m a traditional hotdog with ketchup gal.  But, I tasted the hot dog, and it was delicious.  The owners grind up the meat themselves and make their own hotdog meat, and it is evident in the dog.  I would suggest visiting Stuggy’s and get whatever dog tickles your fancy.

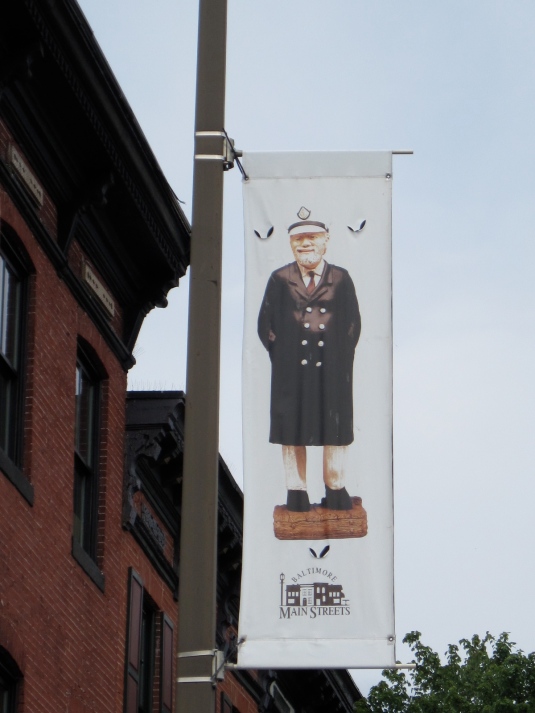
We had some time to walk off those munchies, while our tour guide filled us in on some background about Fell’s Point.

These numbers are on a few remaining curbs, and mark the stalls for the market.  They were only a few feet apart, demonstrating the tight space that these people worked in.

We walked along the waterfront.

We headed over to the Wharf Rat Bar, a favorite evening hangout.  I sipped a beer but it was a little strong.

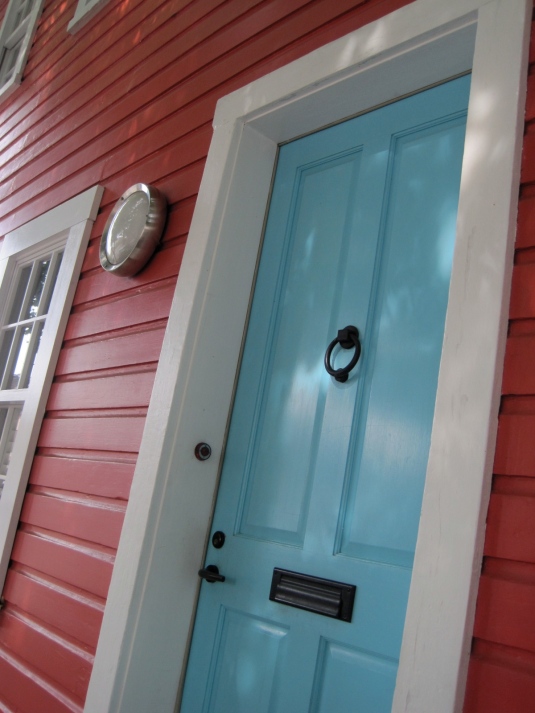
We saw the four remaining wood houses in Fell’s Point, painted in eccentric and exciting colors.

Lots of the houses had these tiny, little alleyways back to the backyard like the turquoise door above.  Some of these walkways were super skinny.  Guess no one was overweight in those days.

We saw the grave plots of the Fells family. They owned acres upon acres of land that they built up and sold off to make way for Felltown.  Sadly, the family had no heirs, so Fell’s Point was absorbed into Baltimore.

Right next door to this plot was an interesting door knocker.

I found this one too.

We meandered over to Todd Conner’s, where we feasted on a mini crab cake toppeed with red pepper alioli and seared tuna. Very good and wonderfully cooked.

We traveled up to the 5th floor of the Inn at the Black Olive, where they have tucked away a fabulous restaurant, the Olive.  We tasted a variety of spreads on their wonderful bread.  They had some to-die-for hummus, colored green by their olive oil, baba ghanoush (a delectable eggplant spread), Tzatziki (a greek yogurt and mint spread), some delicious feta, and some olives (I hate olives, Ugh!).

We were able to sit down, enjoy the view, and chat with the other people on the tour. They also have a lovely market where you can buy these dips, enjoy some organic wine, or pick out some fresh fish.

We finished the evening at Mr. Yogato.

We sat down in a converted alleyway that was enclosed.  The windows were painted to reflect the space’s original decor.

We devoured our tangy frozen yogurt with strawberries and chocolate chips.

My mom and I had a fantastic time and left content with full bellies.  I would recommend you check out these particular Charm City Food Tours or check out the food tours in your area and find the hidden gems you never knew about or look for food tours when you are visiting somewhere and enjoy some food sprinkled with history and fun.

Wherever you go, be OPEN to new ideas.

Slacker

So, I have been slacking.  I haven’t been working out.  I haven’t been baking. And,  I haven’t been blogging.


So,  I’ve decided to get back on the bandwagon with all of these things.  I will go to the gym every morning, you are my witness.


I have 8 blogs in the works that I will publish soon, and I hope to get baking again.


I am completing a chemistry internship in Balitmore.  I am having a wonderful time, doing lots of organic chemistry reactions and learning lots of other chemistry and science information.  In addition to this lovely internship, I was given housing, but I have to make all of my own meals.  Not too much of a problem, but our kitchen consists of 2 burners and a fridge.  These amenities are less than desirable, but my mom visited me this weekend and brought an extra microwave down.  Now, I can cook a few more things, and I have found some delicious looking no-bake recipes.


I will fill you in on all of these things, but I have decided to start this new journey tomorrow.


Today, I’m snacking on some nutritious sour gummi (and yes, the package spells gummy with an i) bears and watching lots of MONK episodes on Netflix.  Don’t judge, you have all done the same thing at one time.

Now, I’m going  to get back to my bear pals, but stay tuned for a tour-i-fic post tomorrow.


Previous Older Entries Next Newer Entries